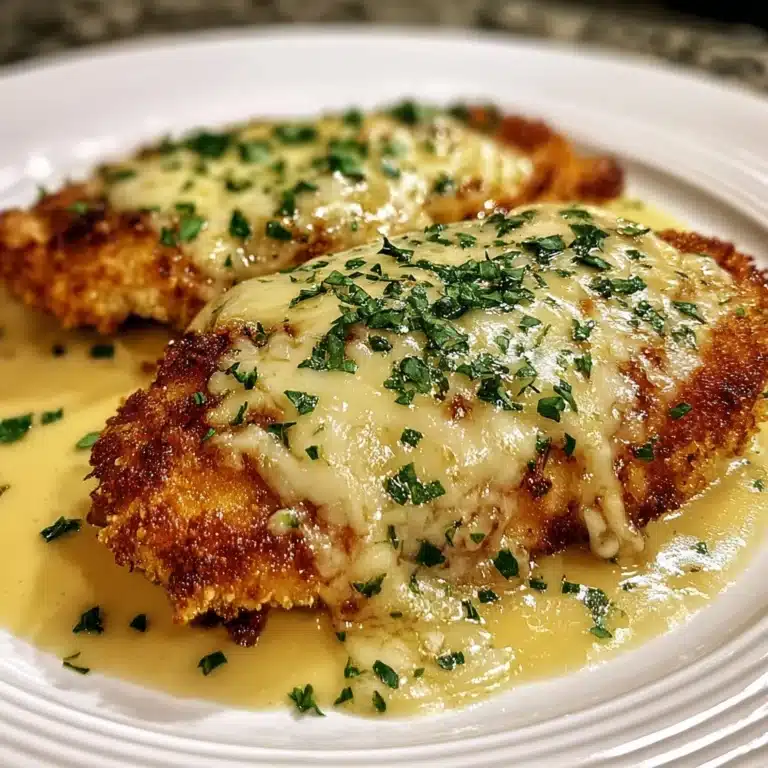
When it comes to comfort food with a satisfying crunch, nothing beats Crispy Pan-Fried Chicken Tenders. These golden, juicy strips are the perfect balance of crispy exterior and tender, flavorful inside. Whether you’re looking for a quick weeknight dinner or a crowd-pleasing appetizer, this recipe will have you hooked from the very first bite. Plus, the straightforward method means you don’t need fancy ingredients or complicated techniques to enjoy restaurant-quality chicken tenders at home.
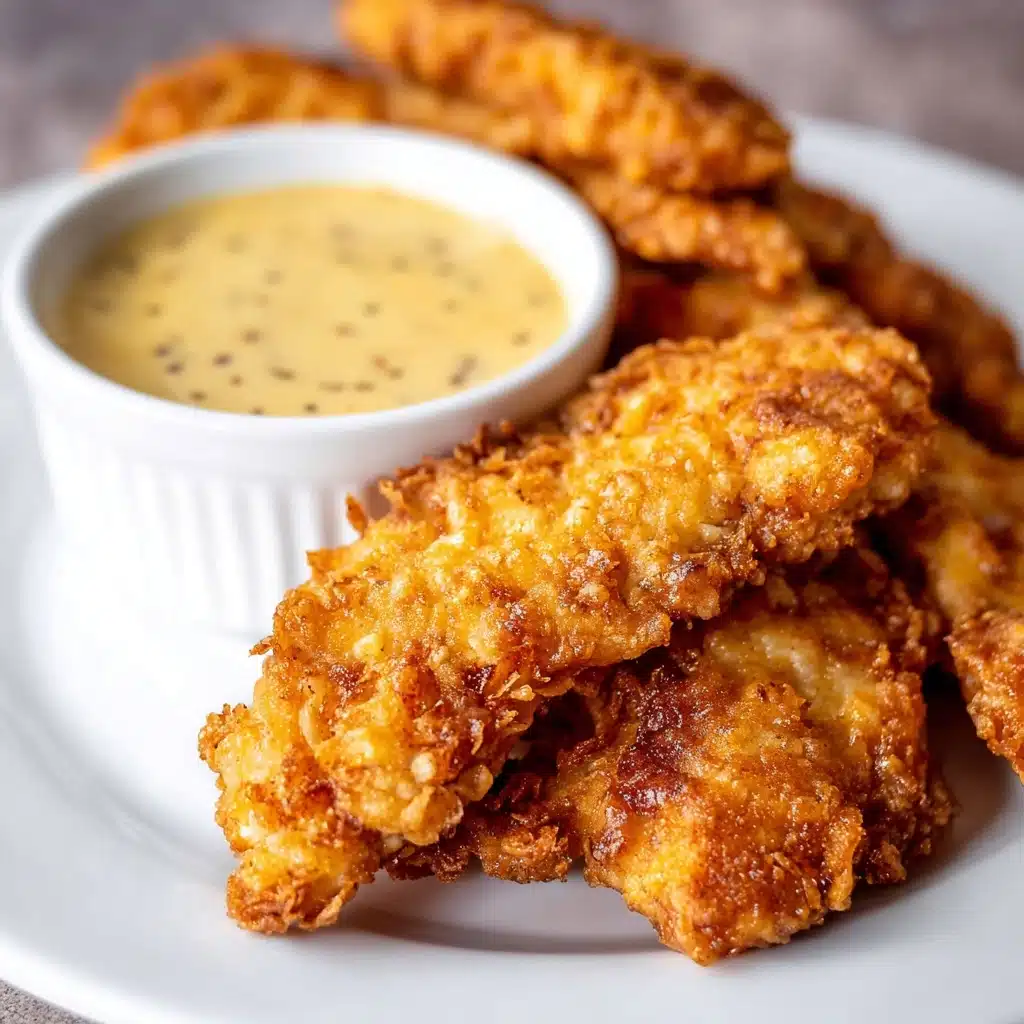
Ingredients You’ll Need
Gathering simple, everyday ingredients is all it takes to make these irresistible Crispy Pan-Fried Chicken Tenders. Each component plays an essential role: the spices add depth and warmth, the flour creates that crunchy coating, and the eggs ensure everything sticks perfectly for even frying.
- 1 cup all-purpose flour: The base for the crispy coating that locks in juiciness.
- 1/2 teaspoon salt: Enhances overall flavor and balances spices.
- 1/4 teaspoon pepper: Adds a subtle kick to the coating.
- 1 teaspoon garlic powder: Infuses savory notes that brighten each bite.
- 1 teaspoon onion powder: Adds a sweet and slightly tangy undertone.
- 1 teaspoon paprika: Provides a hint of smoky warmth and rich color.
- 2 eggs: Helps the coating adhere perfectly to each tender.
- 2 pounds chicken tenders: The star of the dish—tender and perfectly sized for frying.
- Canola or vegetable oil: For frying, chosen for its high smoke point and neutral flavor.
How to Make Crispy Pan-Fried Chicken Tenders
Step 1: Prepare Your Breading Station
Start by combining the flour, salt, pepper, garlic powder, onion powder, and paprika in a shallow dish. This spice mix is what gives the Crispy Pan-Fried Chicken Tenders their mouthwatering flavor and beautiful golden hue. In a second shallow dish, beat the two eggs until smooth. This simple setup makes the breading process quick and easy.
Step 2: Coat the Chicken Tenders
Pat your chicken tenders dry using paper towels to help the coating stick better. Then, dredge each tender in the seasoned flour, dip it into the beaten eggs, let the excess drip off, and coat it once more in the flour. This double-dipping technique ensures a thick, extra crispy crust once fried. Place the coated tenders on a plate so they’re ready for the pan.
Step 3: Heat the Oil and Fry
Pour enough oil into a skillet to reach about halfway up the tenders and heat it over medium until it’s hot and shimmering but not smoking. Adding the chicken too soon or when the oil is too cool will cause soggy breading. Carefully add the tenders to the hot oil in a single layer and cook for 4-5 minutes until golden brown on one side. Flip and cook for another 3-4 minutes to finish cooking through. The end result is a beautifully crispy exterior with juicy, tender chicken inside.
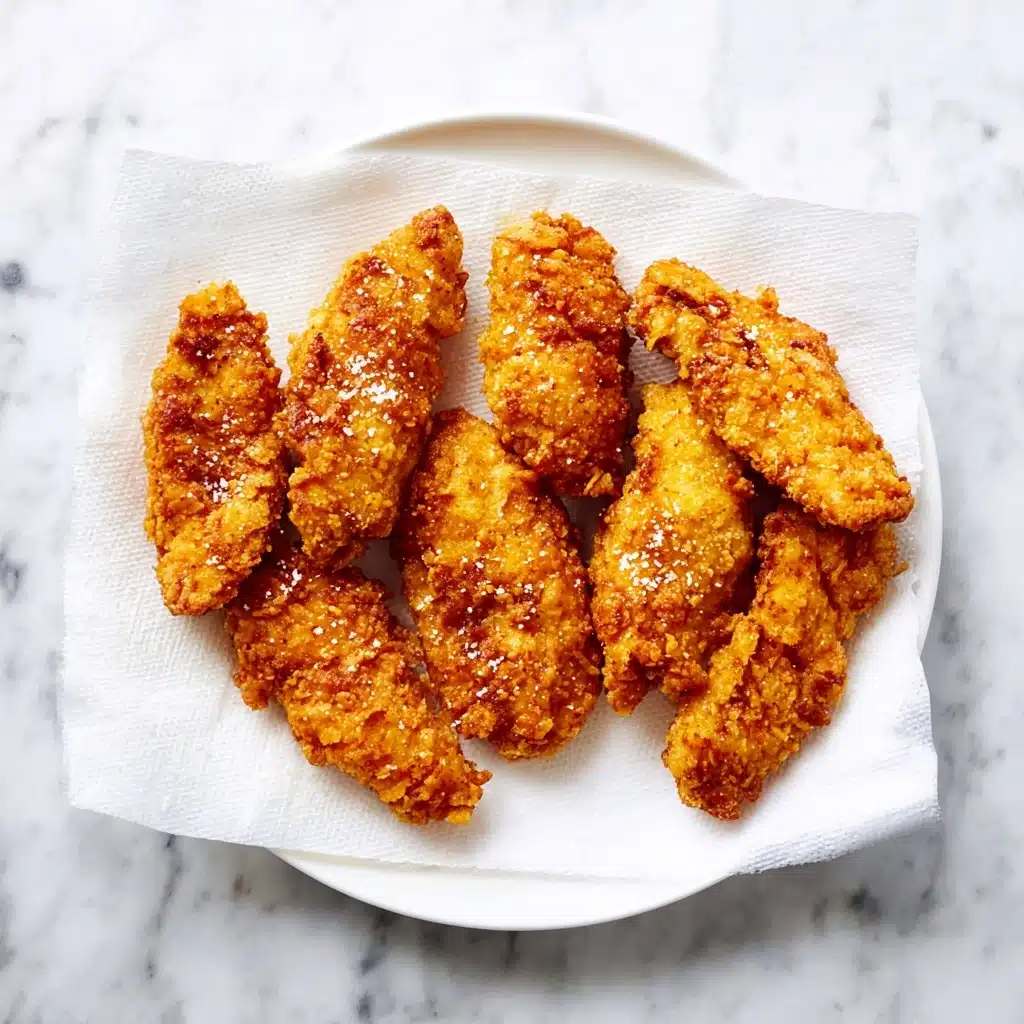
Step 4: Drain and Season
Transfer the fried tenders to a plate lined with paper towels to absorb any excess oil, then sprinkle with a little extra salt while they’re still hot. This step boosts flavor and keeps the tenders perfectly seasoned. Serve immediately or keep warm until you’re ready to dig in!
How to Serve Crispy Pan-Fried Chicken Tenders
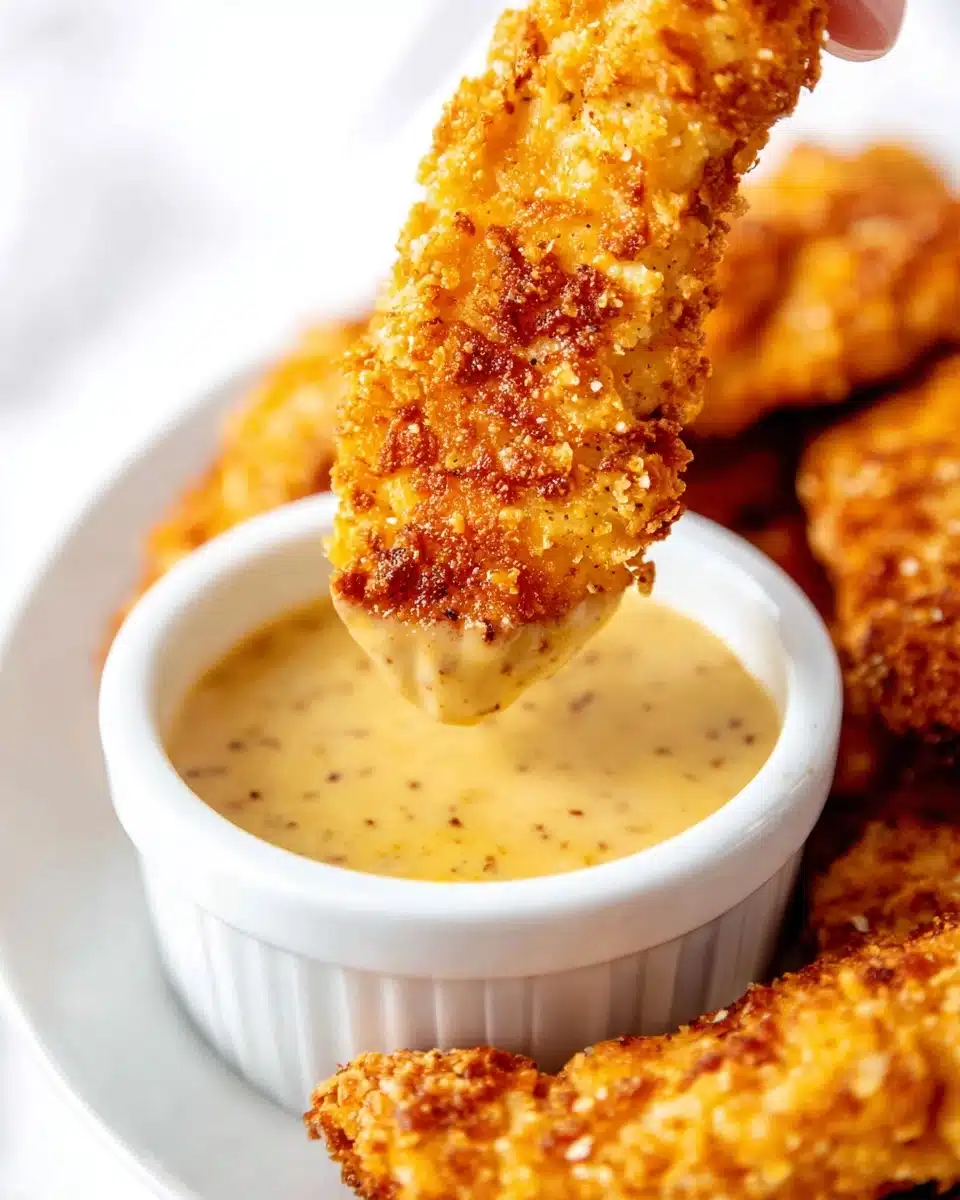
Garnishes
A sprinkle of freshly chopped parsley or green onions can add a lovely pop of color and a fresh bite that pairs well with the crispy tenders. A lemon wedge on the side also adds brightness and complements the mild spices beautifully.
Side Dishes
These Chicken Tenders are versatile enough to accompany all sorts of sides. Think creamy mashed potatoes, crispy fries, or a crunchy side salad to add freshness. Even roasted veggies or steamed green beans make excellent healthy partners to balance the meal.
Creative Ways to Present
Elevate your Crispy Pan-Fried Chicken Tenders by serving them on a platter with an assortment of dipping sauces like honey mustard, spicy aioli, or tangy barbecue. Layer them on sliders with coleslaw for a fun twist, or toss them in your favorite sauce for a flavorful variation on classic wings.
Make Ahead and Storage
Storing Leftovers
Leftover Crispy Pan-Fried Chicken Tenders can be stored in an airtight container in the refrigerator for up to 3 to 4 days. Make sure to cool the tenders completely before storing to avoid sogginess.
Freezing
If you want to keep them longer, freeze the chicken tenders on a baking sheet until solid, then transfer to a freezer-safe bag. They keep well for up to 2 months, making them perfect for quick meals anytime you crave that crispy goodness.
Reheating
The key to reheating and maintaining the crispiness of these tenders is to use an oven or toaster oven. Reheat at 350°F (175°C) until warmed through, generally 10-15 minutes, flipping halfway to ensure even crisping. Avoid the microwave as it will make the coating soggy.
FAQs
Can I use chicken breasts instead of tenders?
Yes! You can cut chicken breasts into strips similar in size to tenders. Just be careful to keep the pieces even so they cook consistently and remain juicy inside.
What dipping sauces go best with Crispy Pan-Fried Chicken Tenders?
Classic honey mustard, ranch, barbecue sauce, or even a spicy buffalo sauce are fantastic choices. You can also try garlic aioli or a sweet chili sauce for a flavor twist.
Can I bake these instead of frying?
You can bake them by placing the coated tenders on a baking sheet and cooking at 425°F (220°C) for about 15-20 minutes, flipping halfway. However, frying yields the crispiest crust that is tough to match in the oven.
How do I know when the chicken tenders are cooked through?
They should reach an internal temperature of 165°F (74°C) and have no pink in the center when sliced open. Cooking times can vary slightly depending on thickness, so checking with a meat thermometer is best.
Why is the coating not sticking well?
Ensuring the chicken is well dried before breading and following the flour-egg-flour dip method are both crucial. Also, make sure the oil is hot enough before frying to set the coating quickly and prevent it from sliding off.
Final Thoughts
If you’re looking for a recipe to delight your taste buds and impress your loved ones, these Crispy Pan-Fried Chicken Tenders are a no-fail choice. The simple ingredients and easy steps combine to create a dish that’s full of flavor, texture, and that perfect golden crunch. Once you try this recipe, it will quickly become one of your favorite go-to dishes for any occasion.
PrintCrispy Pan-Fried Chicken Tenders Recipe

These Crispy Pan-Fried Chicken Tenders are golden brown, perfectly seasoned, and irresistibly crunchy. Coated in a flavorful blend of spices and flour, then pan-fried to perfection, they make a quick and delicious meal or snack. Serve with honey mustard or your favorite dipping sauce for an extra burst of flavor.
- Prep Time: 15 minutes
- Cook Time: 10 minutes
- Total Time: 25 minutes
- Yield: 4 servings
- Category: Main Dish
- Method: Pan-Frying
- Cuisine: American
- Diet: Low Fat
Ingredients
For the Coating
- 1 cup all-purpose flour
- 1/2 teaspoon salt
- 1/4 teaspoon black pepper
- 1 teaspoon garlic powder
- 1 teaspoon onion powder
- 1 teaspoon paprika
For the Chicken
- 2 pounds chicken tenders
- 2 eggs, beaten
For Frying
- Canola or vegetable oil, enough to fill pan halfway up the chicken tenders
Instructions
- Prepare the coating mixture: In a shallow dish, combine the all-purpose flour, salt, black pepper, garlic powder, onion powder, and paprika. Mix well to evenly distribute the spices for a flavorful breading.
- Beat the eggs: In a separate shallow dish, beat the eggs thoroughly until the yolk and whites are fully combined. This will help the flour coating adhere to the chicken.
- Coat the chicken tenders: Pat the chicken tenders dry with paper towels to remove excess moisture. Dredge each strip first in the flour mixture, then dip into the beaten eggs, allowing excess to drip off, and then dredge again in the flour mixture. Place the coated tenders on a plate ready for frying.
- Heat the oil: In a large skillet, heat enough canola or vegetable oil over medium heat until it is hot and glistening but not smoking. The oil should be about half the height of the chicken tenders for proper frying.
- Fry the chicken tenders: Carefully add the coated tenders to the hot oil in a single layer without overcrowding the pan. Fry for 4-5 minutes until the underside is golden brown and crispy.
- Flip and finish cooking: Turn the tenders over and cook for an additional 3-4 minutes until the chicken is cooked through and no longer pink inside. Use a meat thermometer to ensure an internal temperature of 165°F (74°C).
- Drain and season: Transfer the fried chicken tenders to a plate lined with paper towels to absorb excess oil. Sprinkle with a pinch of salt while still hot to enhance flavor.
- Serve: Serve the crispy chicken tenders warm with honey mustard dipping sauce or your favorite dip for a delectable appetizer or main dish.
Notes
- Ensure the chicken is thoroughly dried before breading to help the coating stick better.
- Wait for the oil to be hot but not smoking before adding the chicken to get crispy tenders and avoid sogginess.
- Store leftover chicken tenders covered tightly in the refrigerator and reheat in an oven or toaster oven to maintain crispiness. Consume leftovers within 3-4 days.
Nutrition
- Serving Size: 1/4 of recipe (about 4-5 tenders)
- Calories: 320
- Sugar: 1 g
- Sodium: 420 mg
- Fat: 14 g
- Saturated Fat: 3 g
- Unsaturated Fat: 9 g
- Trans Fat: 0 g
- Carbohydrates: 20 g
- Fiber: 1 g
- Protein: 28 g
- Cholesterol: 115 mg