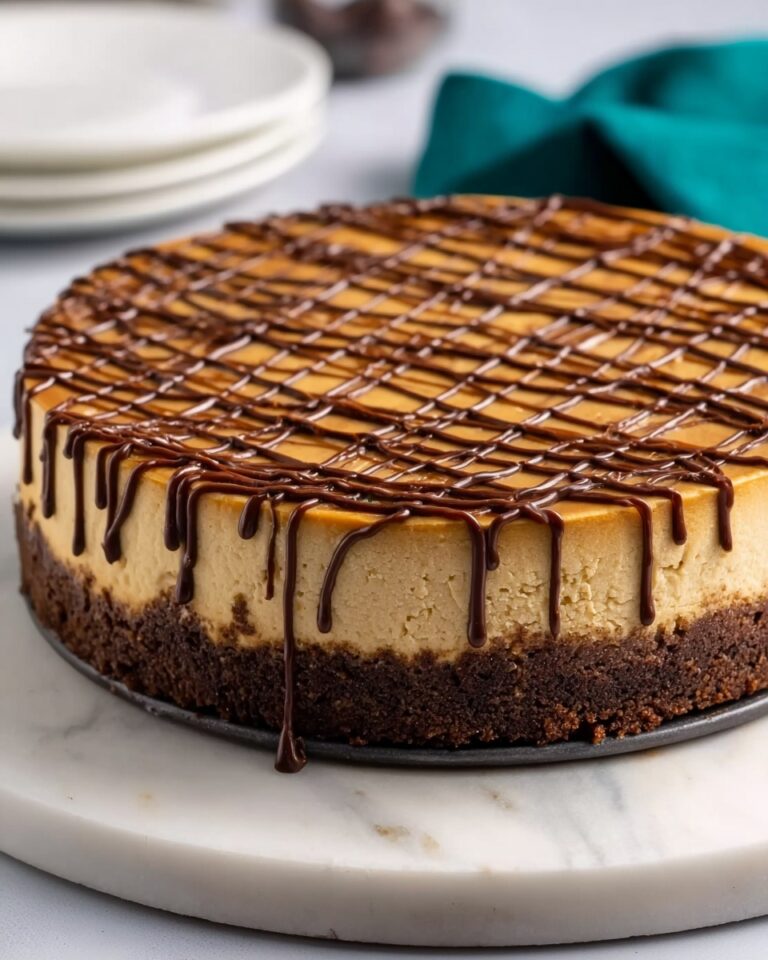
I have to tell you about one of my favorite indulgent treats: the Oreo Peanut Butter Bars Recipe. These bars combine the crunchy, chocolaty goodness of Oreos with the creamy richness of peanut butter, topped off with a luscious chocolate layer that’s just begging to be devoured. Whenever I make these, they disappear at lightning speed, and I love how this recipe is such a simple yet impressive dessert to whip up for friends, family, or just a special treat to enjoy on my own.
Why You’ll Love This Oreo Peanut Butter Bars Recipe
What truly makes this Oreo Peanut Butter Bars Recipe stand out in my kitchen is the perfect balance of flavors and textures. The slightly salty, creamy peanut butter layer paired with the Oreo crumb crust creates a delightful contrast—crunchy yet smooth, sweet yet a little savory. And I can’t forget about that glossy chocolate topping that sets everything off perfectly. Each bite feels like a little moment of pure joy.
I also love how easy this recipe is to prepare. It feels fancy but doesn’t require any complicated techniques or hard-to-find ingredients. It comes together quickly, which means I can satisfy my dessert cravings without much fuss. Plus, these bars are perfect for practically any occasion—whether it’s a casual weekend snack, a potluck, or even holiday celebrations, they always steal the show. Honestly, once you try this Oreo Peanut Butter Bars Recipe, you’ll want to make it your go-to dessert for every occasion.
Ingredients You’ll Need

These ingredients might be simple but they’re absolutely essential to creating the magic of this Oreo Peanut Butter Bars Recipe. Each one plays a unique role—whether it’s adding crunch, sweetness, creaminess, or that irresistible chocolate finish.
- Oreo cookies: 15 classic Oreos (not double stuffed) give the crumbly, chocolatey base that’s packed with flavor.
- Unsalted butter (42 grams): Melted and mixed with the Oreos to bind the crust perfectly.
- Unsalted butter (56 grams) softened: Creates a creamy peanut butter layer without overpowering the other flavors.
- Brown sugar: Adds a subtle caramel note and enhances the richness of the peanut butter.
- Salt: Just a pinch balances out the sweetness unless you’re using salted butter.
- Smooth peanut butter: Key for the creamy peanut flavor—make sure it’s the kind where the oil doesn’t separate on top!
- Powdered sugar: Sifted for a silky texture in the peanut butter filling.
- Semi-sweet chocolate: 6 ounces for that decadent chocolate top layer.
- Shortening or vegetable oil: A small amount helps the chocolate stay smooth and shiny.
Directions
Step 1: Line an 8×8 inch pan with parchment paper or aluminum foil, leaving an overhang on the sides for easy removal later.
Step 2: Crush the Oreos into fine crumbs using a food processor, or put them in a freezer bag and smash with a rolling pin. Mix the crumbs with the melted butter until evenly coated.
Step 3: Press the Oreo mixture firmly into the bottom of the prepared pan to form a solid crust. Set aside.
Step 4: In a bowl, beat the softened butter and brown sugar together until smooth and creamy.
Step 5: Beat in the peanut butter and salt until the mixture is smooth and lump-free.
Step 6: Gradually mix in the powdered sugar about half a cup at a time, until the mixture is thick and doesn’t stick when you squeeze it between your fingers.
Step 7: Spread the peanut butter mixture evenly over the Oreo crust, using a spatula or a piece of wax paper to smooth it out.
Step 8: Chop the chocolate into tiny pieces and melt gently using medium power in the microwave, stirring every 45 seconds. Alternatively, melt in a double boiler over low heat. Stir in the shortening until smooth.
Step 9: Pour the melted chocolate over the peanut butter layer and smooth the surface carefully with your spatula.
Step 10: Allow the bars to harden either on the counter at room temperature or in the fridge. If chilling, be aware the chocolate might discolor slightly.
Step 11: When the chocolate is mostly firm (about 90% hardened), score thin lines with a sharp knife where you plan to cut the bars—this makes slicing easier and cleaner.
Step 12: Once fully set, lift the entire block out using the parchment overhang, transfer to a cutting board, and slice into 16 bars with a thin, sharp knife.
Servings and Timing
This recipe yields approximately 16 rich, decadent bars that are perfect for sharing or savoring over a few days. Prep time is about 15 minutes, and while there’s no actual cooking, you’ll need to allow roughly 30-60 minutes for the chocolate and peanut butter layer to fully set—depending on your room temperature or fridge speed. Overall, from start to finish, you’re looking at around 45 minutes to an hour total time.
How to Serve This Oreo Peanut Butter Bars Recipe

I love serving these bars at room temperature to fully appreciate the textures—the chocolate is just firm enough to crack gently, giving way to the creamy peanut butter center and crisp Oreo crust. For a crowd, I often arrange the bars on a beautiful platter, dusting them lightly with powdered sugar or a drizzle of melted white chocolate for an extra touch of flair.
These bars pair wonderfully with a cold glass of milk for a nostalgic treat, or I’ve even enjoyed them alongside a robust cup of coffee or espresso for a grown-up twist. For something celebratory, try serving them with a dessert wine like a sweet port or a nutty amaretto cocktail—the flavors beautifully complement the peanut butter and chocolate.
Occasion-wise, I find these bars so versatile. They’re a big hit for birthday parties, casual potlucks, or whenever I want to bring a special homemade gift. I usually cut them into smaller portions if serving at events since they’re so rich, and I suggest pairing them with lighter fruit sides like sliced strawberries or fresh raspberries to brighten up the dessert plate.
Variations
I like to experiment with this Oreo Peanut Butter Bars Recipe occasionally, and it’s super adaptable. For example, swapping regular Oreos for gluten-free sandwich cookies makes it friendly for gluten-sensitive friends without losing any of the delicious texture or flavor. You can also try natural peanut butter—though it might alter the texture slightly, I often add a little extra powdered sugar to keep the filling firm.
For a vegan twist, I substitute dairy butter with a soft vegan butter and use dairy-free chocolate. The result is just as indulgent and perfect for those with dietary restrictions. Another fun variation is adding a sprinkle of chopped peanuts or a swirl of caramel sauce in the peanut butter layer to add extra crunch or a gooey surprise.
If you’re feeling adventurous, try topping the bars with melted milk chocolate or white chocolate instead of semi-sweet, or even adding a pinch of cinnamon or chili powder into the peanut butter layer for a subtle spicy kick that I personally find irresistible.
Storage and Reheating
Storing Leftovers
I always store leftover Oreo Peanut Butter Bars in an airtight container at room temperature if we plan to eat them within 2-3 days. Alternatively, the fridge works well too and can extend their freshness to up to a week. Using parchment paper between the layers prevents sticking, and keeping the container sealed tightly ensures they stay moist and maintain their texture.
Freezing
These bars freeze beautifully, making them an excellent make-ahead treat. Wrap the entire block tightly in plastic wrap and then foil, or portion them individually with parchment separators in a freezer-safe container. They’ll keep well for up to 2 months frozen. When you’re ready to enjoy, thaw them overnight in the fridge or for a few hours at room temperature to preserve the best flavor and texture.
Reheating
Since these bars are meant to be enjoyed cool or at room temperature, I don’t recommend heating them. If you want them softer, just let them sit out for 10-15 minutes before eating. Avoid microwaving as it can melt the chocolate topping unevenly and make the peanut butter layer too oily or grainy. Room temp or chilled is honestly how I love them best!
FAQs
Can I use crunchy peanut butter instead of smooth?
While you can substitute crunchy peanut butter, the texture will be less smooth and a bit more rustic. It adds an interesting bite, but for the classic creamy bar, smooth peanut butter works best to bind everything nicely.
Is it necessary to melt the shortening into the chocolate?
Yes, a small amount of shortening or vegetable oil helps the chocolate set with a silky shine and prevents it from becoming too hard and brittle. If you skip it, the chocolate may crack or dull after hardening.
Can I make this recipe without a food processor?
Absolutely! You can place the Oreos in a sturdy plastic bag and crush them with a rolling pin or heavy pan until finely crumbed. It’s a bit more labor-intensive but works perfectly fine.
How should I cut the bars to avoid cracking the chocolate layer?
I recommend scoring the chocolate when it’s almost fully set but still slightly soft. Use a very sharp, thin knife to gently mark the cuts. Once fully hardened, slice through the bars using the score marks for cleaner edges without cracking.
Can these bars be made ahead for a party?
Definitely! I often make these a day or two in advance and store them in the fridge or at room temperature wrapped tightly. This helps the flavors meld, and they hold up well, making your party prep so much easier!
Conclusion
I truly hope you give this Oreo Peanut Butter Bars Recipe a try because it’s one of those desserts that feels like a little celebration in every bite. It’s easy enough to whip up any time you want something special, yet indulgent enough to impress your guests. From the crunchy Oreo crust to that rich peanut butter middle and silky chocolate top, these bars never fail to bring smiles and happy chatter at my table. Trust me, once you make them, they’ll be a favorite you come back to again and again!
PrintOreo Peanut Butter Bars Recipe

Delicious and easy-to-make Oreo Peanut Butter Bars featuring a crunchy Oreo cookie base, a creamy peanut butter layer, and a rich chocolate topping. These no-bake bars are perfect for satisfying your sweet tooth with a perfect balance of flavors and textures.
- Prep Time: 15 minutes
- Cook Time: 10 minutes
- Total Time: 25 minutes plus chilling time
- Yield: 16 bars
- Category: Dessert
- Method: No-Cook
- Cuisine: American
Ingredients
Oreo Base
- 15 Oreo cookies, not double stuffed
- 3 tablespoons unsalted butter (42 grams), melted
Peanut Butter Layer
- 1/4 cup unsalted butter (56 grams), softened
- 3 tablespoons brown sugar, light or dark
- 1/4 teaspoon salt (omit if using salted butter)
- 1 cup smooth peanut butter
- 1 2/3 cup powdered sugar (183 grams), sifted
Chocolate Topping
- 6 ounces semi-sweet chocolate (170 grams), or your favorite variety
- 2 teaspoons shortening, or 1/2 teaspoon vegetable oil
Instructions
- Prepare the pan: Line an 8×8 inch (20×20 cm) pan with parchment paper or aluminum foil, leaving an overhang around the sides for easy removal later.
- Make the Oreo crust: Crush the Oreo cookies, including the wafers and filling, into fine crumbs using a food processor or by placing them in a freezer bag and crushing with a rolling pin. Mix the crushed cookies with the melted butter thoroughly and press the mixture firmly into the bottom of the prepared pan to create an even crust layer.
- Prepare the peanut butter layer: Beat the softened butter and brown sugar together until smooth. Add the peanut butter and salt, beating until no lumps of butter remain. Gradually mix in the sifted powdered sugar, about 1/2 cup at a time. The mixture should become thick and not sticky to the touch when squeezed. Spread this peanut butter mixture evenly over the Oreo crust, pressing it down gently. A piece of wax paper can be used to smooth and press the layer evenly.
- Make the chocolate topping: Chop the semi-sweet chocolate into small, fine pieces and place into a heatproof bowl. Melt the chocolate gently in the microwave on medium power in 45-second bursts, stirring between intervals until fully melted. Alternatively, melt over low heat in a double boiler. Stir in the shortening or vegetable oil to create a smooth chocolate layer. Pour the warm chocolate evenly over the peanut butter layer and smooth the top with a spatula or the back of a spoon.
- Set the bars: Allow the chocolate topping to harden at room temperature or in the refrigerator. Be aware that refrigeration may cause slight discoloration of the chocolate. When the chocolate is about 90% hardened, lightly score the surface with a thin, sharp knife in the desired pattern for slicing. Once fully hardened, use the parchment paper or foil overhang to lift the bars from the pan and place onto a cutting board.
- Slice and serve: Using a sharp, thin knife, slice the bars into 16 equal pieces and serve. Store leftovers in an airtight container at room temperature or in the fridge.
Notes
- Use smooth, commercially prepared peanut butter for best results. Avoid natural peanut butters where the oil separates.
- Nutrition information is estimated per one bar assuming the pan is sliced into 16 pieces.
- Store bars in an airtight container at room temperature or refrigerate for longer freshness.