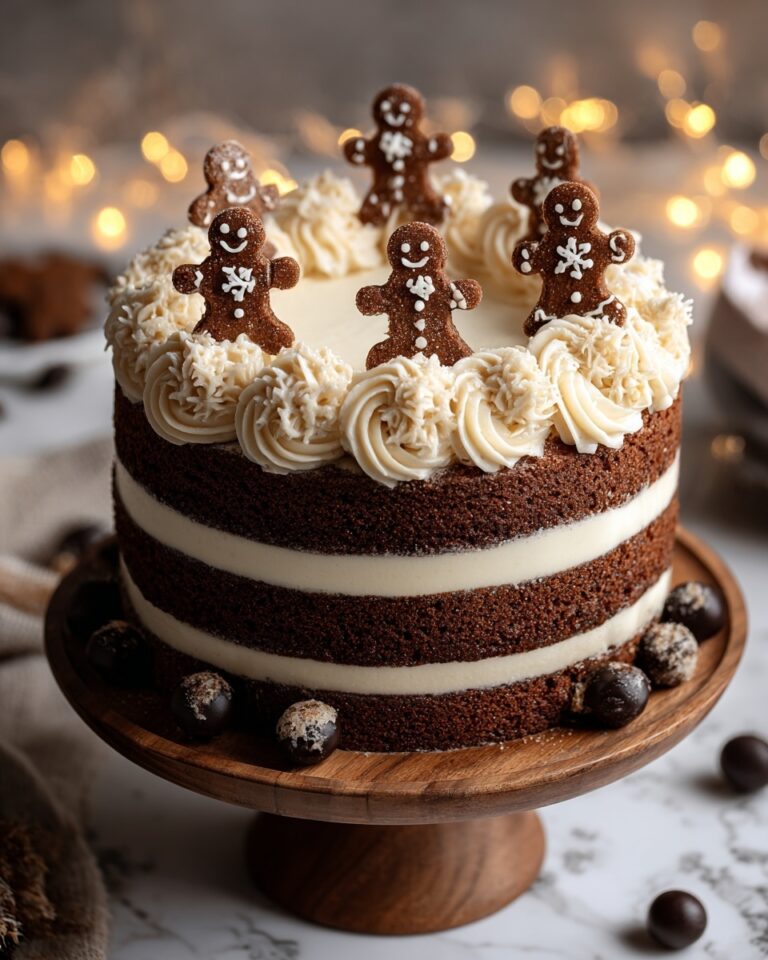
If you’re looking for a fun and festive treat that instantly brings a smile to your face, the Strawberry Santas Recipe is an absolute must-try. These adorable little delights combine juicy strawberries with creamy sweetened cream cheese, topped with charming decorative details that look just like tiny Santa Claus figures. Simple to make yet utterly impressive, this recipe is perfect for holiday parties, family gatherings, or just a joyful snack to brighten any day.
Ingredients You’ll Need

Gathering these ingredients is as straightforward as the recipe itself. Each component plays a crucial role, from the freshness of the strawberries to the smooth sweetness of the cream cheese filling and the playful decorative icing that brings the Santas to life.
- 12 large strawberries: Choose firm and ripe strawberries for the best flavor and sturdy base.
- 1 cup whipped cream cheese: This adds that luscious, creamy texture that complements the strawberries perfectly.
- 2 tablespoons powdered sugar: Sweetens the cream cheese filling gently without overpowering the natural berry taste.
- ¼ teaspoon vanilla: A splash of vanilla extract elevates the filling with warm, comforting notes.
- Decorative red and black icing for the face: These bring personality and charm to each little Santa with their festive colors.
How to Make Strawberry Santas Recipe
Step 1: Prepare and Cut the Strawberries
Start by washing the strawberries with care so they remain intact and vibrant red. Remove the green stems completely; this gives you a flat surface for stability. Then slice each strawberry into three pieces: the bottom half, middle section, and the small top part, which will serve as Santa’s charming hat. Make sure to leave enough of the top pointed to mimic the classic hat shape.
Step 2: Mix the Cream Cheese Filling
In a small bowl, blend together the whipped cream cheese, powdered sugar, and vanilla extract. The mixture should be smooth and slightly sweet, ready to be piped onto the strawberries. You can adjust the sweetness subtly if desired, but remember, the creaminess should balance the fresh berry flavor.
Step 3: Assemble the Strawberry Santas
Place the large bottom piece of the strawberry on a serving plate. Using a piping bag, carefully pipe the cream cheese mixture on top of this base so it forms a fluffy “body” for Santa. Next, position the strawberry top piece – the “hat” – at a jaunty angle on the cream cheese body. Use some of the mixture to create the fluffy trim and pom-pom on the hat for that unmistakable Santa look.
Step 4: Add the Face Details
With decorative red and black icing, patiently draw tiny eyes, a nose, and a smile to give your Strawberry Santas their cheerful expressions. This step is where these sweet treats really become a delightful festive centerpiece that kids and adults will adore.
How to Serve Strawberry Santas Recipe

Garnishes
For a finishing touch, you can sprinkle a dusting of powdered sugar like fresh snow or add tiny mint leaves as little holly accents. These small garnishes elevate the presentation without competing with the Santas’ festive charm.
Side Dishes
These Strawberry Santas pair wonderfully with a variety of side treats—think light vanilla yogurt for dipping or alongside a platter of assorted nuts and cheeses. They also make a sweet contrast when served with rich hot cocoa or spiced mulled cider during holiday gatherings.
Creative Ways to Present
Arrange the Strawberry Santas on a bed of fresh mint or edible greenery to resemble a winter forest scene. For parties, consider placing them on top of mini cupcakes or alongside other holiday-themed desserts for a whimsical dessert table that will wow your guests.
Make Ahead and Storage
Storing Leftovers
If you happen to have any Strawberry Santas left after your festivities, store them in an airtight container in the refrigerator. Because of the fresh berries and cream cheese, they are best enjoyed within two days to maintain freshness and texture.
Freezing
Freezing is not recommended for Strawberry Santas since the texture of the fresh strawberries and cream cheese can change dramatically, resulting in a less appealing mouthfeel once thawed.
Reheating
Since these are served cold and fresh, reheating is unnecessary and will compromise their integrity. Simply keep them chilled until you’re ready to enjoy.
FAQs
Can I use other berries instead of strawberries?
While strawberries work perfectly for creating the Santa shape, you could experiment with large raspberries or halved cherries. Just keep in mind that the design may need tweaking for different berry sizes and textures.
Is it okay to substitute the whipped cream cheese with regular cream cheese?
You definitely can, but whipping the regular cream cheese beforehand will help achieve a lighter texture similar to the whipped version, ensuring the filling isn’t too dense.
How long can I prepare the Strawberry Santas in advance?
They are best assembled the day of serving to keep strawberries fresh and cream cheese from drying out, but you can prepare the filling a day ahead and keep it refrigerated.
Are the decorative icings necessary?
The icing adds delightful facial details to your Santas, but if you prefer, you can use small edible markers or tiny chocolate chips for the eyes and mouth.
Can I make this recipe kid-friendly?
Absolutely! Kids love both the taste and the playful assembly process of the Strawberry Santas, making it a fantastic holiday activity as well as a treat.
Final Thoughts
The Strawberry Santas Recipe is one of those magical little treats that bring joy not only with their festive look but with every bite of balanced sweetness and creaminess. Whether you’re prepping for a holiday party or just want to add a sprinkle of holiday cheer to your table, these charming Santas are guaranteed to delight. Give them a try and watch how they become an instant favorite with friends and family.
PrintStrawberry Santas Recipe

Strawberry Santas are a delightful and festive no-bake treat perfect for holiday gatherings. Fresh strawberries are sliced and filled with a sweetened whipped cream cheese mixture, then decorated with icing to create adorable Santa faces and hats. This easy-to-make recipe requires no cooking and makes a charming, tasty dessert kids and adults will love.
- Prep Time: 15 minutes
- Cook Time: 0 minutes
- Total Time: 15 minutes
- Yield: 12 pieces
- Category: Dessert
- Method: No-Cook
- Cuisine: American
- Diet: Vegetarian
Ingredients
Strawberries
- 12 large strawberries
Filling
- 1 cup whipped cream cheese
- 2 tablespoons powdered sugar
- ¼ teaspoon vanilla extract
Decoration
- Decorative red and black icing for the face and Santa hat details
Instructions
- Prepare the strawberries: Carefully wash the strawberries to remove any dirt. Cut off the stems to create a flat base so the strawberries can sit upright. Then, slice each strawberry into three pieces: the bottom piece for the body, a middle section, and the pointed top piece to use as the Santa hat.
- Mix the filling: In a small bowl, combine the whipped cream cheese, powdered sugar, and vanilla extract. Mix until smooth and creamy. Transfer the cream cheese mixture into a piping bag for easy application.
- Assemble the Santas: Place the bottom strawberry piece upright on a plate. Pipe the cream cheese mixture on top, building it tall enough to form the Santa body and leave space for the face. Position the pointed top strawberry piece on top as the Santa hat, and use the piping bag to add a white cream cheese ‘pom-pom’ and white trim to the hat.
- Add facial details: Use the decorative red and black icing to carefully draw Santa’s eyes, nose, and mouth on the cream cheese filling to complete the face.
- Serve or store: Serve the Strawberry Santas immediately to enjoy their fresh flavor and vibrant appearance. Alternatively, store them in an airtight container in the refrigerator for up to two days before serving.
Notes
- Store any leftover Strawberry Santas in an airtight container in the refrigerator for up to two days as they will not last longer due to the fresh ingredients.
- Use fresh, firm strawberries for better stability and appearance.
- If piping bags are unavailable, you can use a small plastic sandwich bag with a corner snipped off.