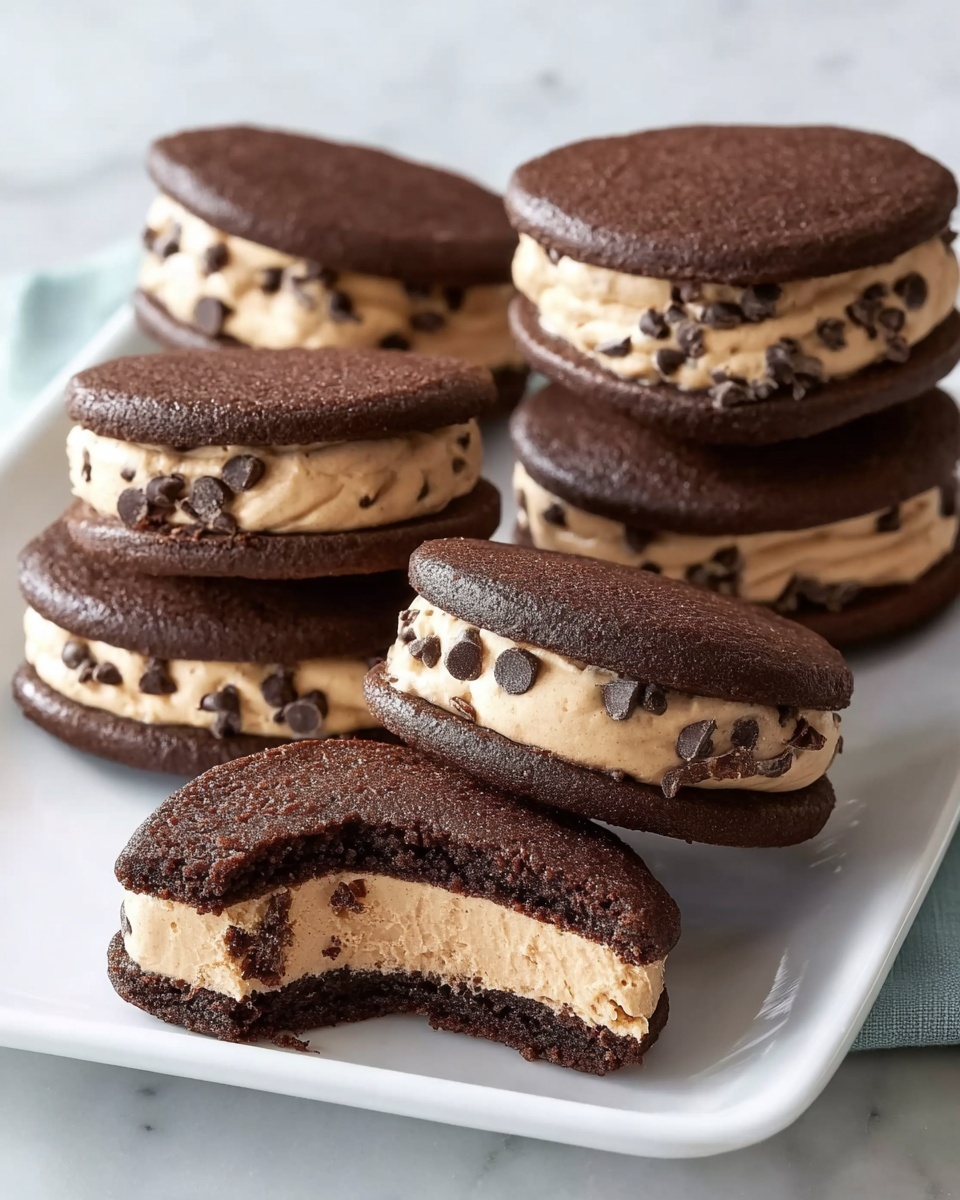
If you’re on the hunt for a nostalgic treat that delivers pure, chewy delight with every bite, look no further than The Best Rice Krispie Treats Recipe. This classic dessert combines the rich creaminess of melted butter and vanilla-scented marshmallows with the crisp snap of Rice Krispies cereal, creating a sensational, melt-in-your-mouth experience. Whether you want a quick snack, a homemade party favor, or a fun project to do with kids, this recipe promises effortless joy wrapped in sweet, crispy goodness.
The Best Rice Krispie Treats Recipe: Ingredients You’ll Need
Ingredients You’ll Need

Getting these treats just right is all about simple ingredients, each playing a key role in the outcome. From the butter that adds richness to the marshmallows that give the perfect chew, every component is essential to the classic flavor and texture we love.
- 6 Tablespoons salted butter: Using European butter brings a deeper, more luscious flavor that makes a noticeable difference.
- 15 oz miniature marshmallows: They melt smoothly to bind everything together and create that classic gooey texture.
- 1 teaspoon pure vanilla extract: Adds a fragrant warmth that elevates the sweetness.
- 6 cups Rice Krispies cereal: The crispy backbone of the treat, providing satisfying crunch in every bite.
- 3 Tablespoons colored sprinkles (optional): For a playful burst of color that turns this treat into a party-ready dessert.
How to Make The Best Rice Krispie Treats Recipe
Step 1: Prepare Your Pan
Begin by lightly greasing a 13×9 pan with a touch of butter or lining it with parchment paper. This simple step makes sure your treats come out cleanly and keeps everything hassle-free.
Step 2: Melt the Butter
Place the butter pieces in a large saucepan set to medium-low heat. Stir occasionally as it melts completely, creating a smooth, buttery base without browning it. This gentle melting contributes to that rich flavor that’s crucial for The Best Rice Krispie Treats Recipe.
Step 3: Add Marshmallows and Melt Slowly
Next, add about 10 oz of the miniature marshmallows into the melted butter. Keep the heat low to prevent the marshmallows from toughening up and stir frequently until they’re just melted and combined with the butter. The slow melt is the secret to that wonderfully chewy texture.
Step 4: Mix in Vanilla, Cereal, and Remaining Marshmallows
Stir in the vanilla extract for that subtle aroma, then add the Rice Krispies and the rest of the marshmallows. Mix everything gently until the marshmallows are only just starting to melt, coating the cereal perfectly to hold it together.
Step 5: Add Sprinkles and Transfer to Pan
Sprinkle in the colored sprinkles for a pop of festive color if desired, give a quick stir to distribute, and then immediately transfer the mixture into your prepared pan. Use a silicone spatula or hands to press the mixture down evenly—but be gentle to keep the treats soft and chewy.
Step 6: Cool Completely Before Cutting
Allow your Rice Krispie treats to cool completely at room temperature for 30 to 60 minutes. This step is important to let them set just right before slicing into those perfect squares.
How to Serve The Best Rice Krispie Treats Recipe

Garnishes
Though these treats are perfect on their own, adding a sprinkle of extra colored toppings, mini chocolate chips, or even drizzling melted chocolate on top can make them even more special. These simple touches bring a delightful visual and flavor boost.
Side Dishes
Pairing these treats with a cold glass of milk or a dollop of fresh whipped cream can make for an indulgent snack time experience. They also accompany coffee or hot chocolate beautifully when you want a cozy pick-me-up.
Creative Ways to Present
Think beyond traditional squares by cutting The Best Rice Krispie Treats Recipe into fun shapes with cookie cutters for parties or gifting. Wrapping individual servings in colorful cellophane adds a homemade charm that will melt hearts instantly.
Make Ahead and Storage
Storing Leftovers
Keep your treats fresh by storing them in an airtight container at room temperature. This will preserve their soft chewiness for up to three days—perfect if you can resist eating them all at once!
Freezing
If you want to save them longer, wrap the treats tightly in plastic wrap and place them in a freezer-safe bag or container. Frozen Rice Krispie treats maintain their flavor and texture well for up to six weeks.
Reheating
To enjoy frozen treats, let them thaw at room temperature for about an hour. You can also warm individual pieces in the microwave for 10 to 15 seconds to bring back their fresh, gooey softness.
FAQs
Can I use a different cereal instead of Rice Krispies?
Absolutely! While the original recipe shines with Rice Krispies for their signature crunch, you can experiment with cereals like Cocoa Krispies or even Cheerios for a unique twist, though it will change the texture and taste slightly.
Why do my Rice Krispie treats turn out hard sometimes?
The key to soft, chewy treats is melting the marshmallows slowly on low heat and not over-handling the mixture when pressing it into the pan. High heat or overworking can make them firm or even crunchy.
Is there a way to make these treats gluten-free?
Yes! Simply ensure you use certified gluten-free Rice Krispies, and double-check the marshmallows for gluten-free labeling. This way, everyone can enjoy The Best Rice Krispie Treats Recipe without worry.
Can I make these without butter?
Butter adds richness and helps with the texture, but you can try substituting it with margarine or coconut oil. Just keep in mind that flavors and texture might vary slightly from the classic version.
How long do The Best Rice Krispie Treats Recipe last?
Stored properly in an airtight container, they stay delicious for about 3 days at room temperature, making them great for parties or quick snacks throughout the week.
Final Thoughts
There’s something truly magical about The Best Rice Krispie Treats Recipe that brings smiles and sweet moments together faster than you can say marshmallows. Warm, gooey, and irresistibly crunchy, this recipe is a keeper—perfect for sharing or savoring any time you crave that comforting nostalgia. Give it a try and watch how quickly these little squares of happiness disappear!
PrintThe Best Rice Krispie Treats Recipe

This classic Rice Krispie Treats recipe combines melted butter and marshmallows with crispy Rice Krispies cereal for a nostalgic, chewy, and sweet snack. Enhanced with a touch of vanilla and optional colorful sprinkles, these treats are easy to make and perfect for any occasion.
- Prep Time: 10 minutes
- Cook Time: 10 minutes
- Total Time: 40 to 70 minutes
- Yield: 12 large Rice Krispie Treats
- Category: Dessert
- Method: Stovetop
- Cuisine: American
- Diet: Vegetarian
Ingredients
Main Ingredients
- 6 Tablespoons (85 g) salted butter, cut into 6 pieces (recommend European butter)
- 15 oz (425 g) miniature marshmallows (approximately 1 ½ 10-oz bags or 8 ½ cups)
- 1 teaspoon pure vanilla extract
- 6 cups (175 g) Rice Krispies cereal
- 3 Tablespoons colored sprinkles (optional)
Instructions
- Prepare the Pan: Lightly grease a 13×9 inch pan with butter or line it with parchment paper and set aside.
- Melt the Butter: Place the butter pieces in a large saucepan over medium-low heat. Stir occasionally until the butter is completely melted to ensure even melting without burning.
- Melt Marshmallows: Add about 10 oz (approximately 5½ heaping cups) of the marshmallows to the melted butter. Stir continuously, keeping the heat below medium to avoid burning and to achieve a smooth, combined mixture.
- Add Vanilla and Cereal: Stir in the vanilla extract, then add the Rice Krispies cereal and the remaining marshmallows (about 5 oz or 2½ heaping cups). Stir until all ingredients are well combined and the additional marshmallows begin to melt.
- Incorporate Sprinkles: Scatter the colored sprinkles over the mixture and briefly stir to combine evenly.
- Transfer to Pan and Shape: Immediately transfer the mixture into the prepared pan. Use a silicone spatula or clean hands to gently press down the mixture evenly, being careful not to over-handle to keep the treats soft and chewy.
- Cool and Serve: Allow the Rice Krispie Treats to cool completely at room temperature for 30 to 60 minutes before cutting into squares and serving.
Notes
- Use European-style butter for a richer flavor and better texture, though regular salted butter also works well.
- Keep the heat low when melting marshmallows to prevent them from burning and causing a gritty texture.
- Do not over-stir once the cereal is added to avoid creating hard treats.
- Cooling completely is essential to allow the treats to set properly for clean cutting.
- Adding sprinkles is optional but adds a fun pop of color perfect for celebrations.